7 min read
Track Which Black Eyed Susans Return to the Border
Use a small marked planting to tell overwintered crowns from volunteers and decide how much golden color to keep.
On this page
A patch of black eyed Susans may look as though every plant has come back, even when a new set of seedlings did much of the work. The flower heads are similar and the plants grow close together, so it is easy to remember the patch as a single perennial. Mark a few crowns before winter and look for their exact positions in spring. Knowing which plants survived and which came from seed gives you better control over the size and location of the display. It also helps when a neighbor asks why their planting never returned the same way.
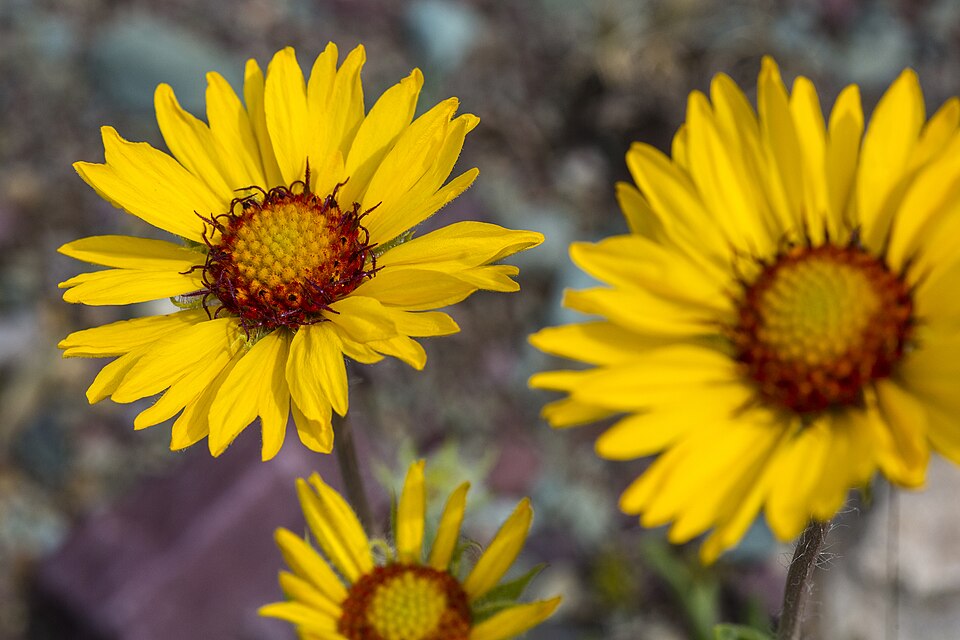
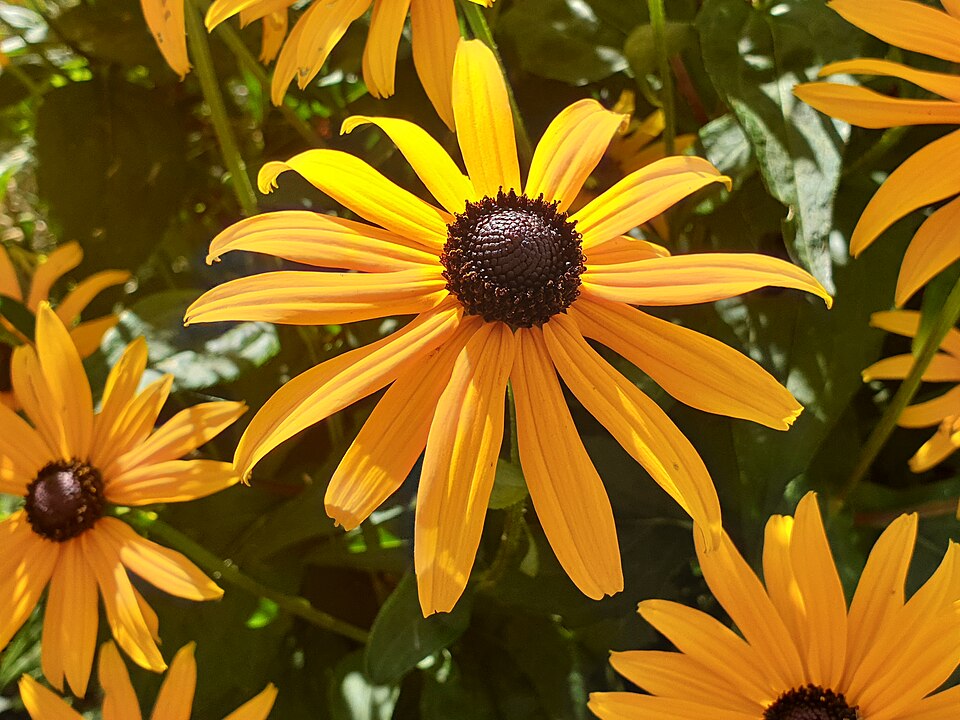
This guide follows Rudbeckia hirta. The species has hairy leaves and stems, and many forms have yellow rays around a dark brown to nearly black center. Some garden selections are much lighter or have rings of other colors. Individual plants may behave as annuals, biennials or short-lived perennials, depending on the cultivar and conditions. The well known perennial 'Goldsturm' belongs to Rudbeckia fulgida and should not be used to predict this plant's behavior. Read and save the full name on the packet.
Give the first group a place you can mark
Choose a sunny gap in a regular flower border. Some plants will tolerate part sun, but the first trial is easier to interpret when most individuals receive similar light. Pick ground that drains and has enough room to distinguish separate plants. Do not start by sowing across the whole border. A compact group in one place gives you a visible effect in summer and a small enough area to inspect the following spring. Look for space apart from the bed's main perennial crowns so you can easily identify unexpected new plants.
Keep some readily visible coordinates. A permanent edge, one large stone and a garden stake can describe a triangle in which every plant is easy to locate. Draw the triangle on an old plant label or in a notebook. A brief sketch is more useful than trying to line up a spring picture with summer foliage that has since disappeared. Mark two or three specific plants as your references. Choose healthy ones that are separate from each other enough to identify their original centers. Leave additional room around the spot where you would like a few seedlings to establish.
Check the local planting guidance before letting seed travel. Rudbeckia hirta is native in North America, with locally appropriate plants and seed sources varying by region. A garden cultivar sold somewhere else has its own local status. Use nursery stock or seed appropriate to your region, especially near a native planting. Keep any initial seed trial contained and remove spent heads as needed. A small accessible spot is a better place to learn how the plant behaves than the far edge of a property where the next seedlings will be difficult to find.
Follow the starting instructions on the actual packet
Garden strains can be selected to bloom in the first growing season, and not every plant will perform on that schedule. Some native seed lots are sown with a period of suitable cold and moisture, while many garden seed instructions call for a spring start. Follow recommendations for the lot and your climate. Save the batch name and the sowing date. This helps you recognize later which plants were grown for quick first-year color and which were expected to develop at a different pace.
Set young plants out when conditions suit. Give them enough space for their mature width, using the label as a guide. Water the area as they establish and check how much moisture stays below the surface. In a small sunny border, a dry corner at the edge of a wall can hold less water than the bed immediately beside it. A young plant in that spot needs a closer look before you depend on it through a long dry spell. Once established, adjust irrigation to the weather and the root zone instead of watering by habit.
Record any obvious gaps before the plants branch and fill in. A missing seedling is much easier to see while its neighbors are still separate. Write down whether it was lost after a wet period, a dry one or some observable damage. You may decide to leave its spot open for comparison instead of pushing another plant into an already crowded group. A clearly marked opening can make next spring's volunteers easier to distinguish. It also leaves a useful place to see what is happening at soil level after you decide which heads to retain.
Choose a small number of flowers to finish on the plant
Where you want repeat color and a tidy low view, remove faded early heads and keep sound leaves. Follow a spent stem down to a useful side branch before cutting. If you want a few volunteers, select healthy late heads to remain near the part of the bed you are willing to share with seedlings. Put a loose label nearby. Leaving selected heads gives you seed at that end without asking every fading stem to do the same thing. It can also leave some seed heads for wildlife where that is appropriate.
Observe the difference between the reach of the seeds and the footprint of the established crown. Several plants may stand close together well inside the border, while seed can fall onto bare ground around them. Keep the adjacent route clear. An outer seedling can be moved or removed more easily while small if the site and local guidance allow. Do not guess that fresh leaves right beside the foot of a parent belong to it. Each plant can be traced to where its leaves enter the soil with a close look before everything grows tall.
If you grow a cultivar for its particular eye or ray color, treat its volunteers as separate specimens. Seedlings from an open garden can show variation. Keep the nursery name with the original crowns. In a mixed planting, you may find that some colors remain heavily represented because many seeds started there. If the next display needs to match a specific original, set aside enough reliably sourced seed or stock instead of assuming that the plants you remove from one corner will look identical.
Check the spring centers before drawing conclusions
Visit the marked crowns when new growth resumes, before lifting other nearby plants. Compare the position of each young rosette with your sketch. A living shoot attached to the original center suggests that a crown survived. Several tiny similar plants scattered beyond it suggest new seedlings, though identification is worth confirming as they grow. Use a hand lens or a close photograph if the marks are difficult to follow. Do not uproot all young plants just to check whether their roots are separate. Wait until you can see useful evidence.
Compare the maintained and open sides of the group. A darker side may have produced little growth, or a wetter side may have lost more old crowns. A nearby patch might have ample new seedlings where open soil was available. Note both facts separately. A live crown in one place and seedlings elsewhere do not mean that the same plant is moving across the ground. They point to two different ways the next display can form.
Thin excess volunteers while you can reach them. Keep a few plants in positions marked for new growth and leave enough room to observe their individual shapes. Move a wanted young plant only at an appropriate time and give it normal care while it settles. If no plants returned and you see no trustworthy seedlings, decide whether to try a different cultivar, use a new sowing or change the site. A small row that can be restarted easily is useful for precisely that reason.
Look for seedlings in the control area as well. Leave one small patch of ground with no heads intentionally hanging over it. An unplanted gap may still receive seed from elsewhere, which helps you appreciate how much of the next display was already available. If it produces none, the areas under the selected heads give you a clearer place to check. Photograph the marker and the soil from close to the ground before the leaves hide it, including a ruler or an ordinary stake as a scale.
Use a second season to decide how permanent the display should be
Put the record of survival, seedlings and bloom dates beside the packet. If a few old plants and a manageable number of new ones filled the border, leave a similar number of late heads next time. If most growth came from seed and only a few sites have room for it, learn to maintain those particular spots instead of expecting a continuous perennial mound. Where you want a plant to occupy one position for many years, choose a suitable longer-lived form and give it space of its own. A small patch of Rudbeckia hirta is successful when you can see its golden flowers and keep its next generation where you can tend it.
Further reading: Clemson Cooperative Extension guide to rudbeckias.